 Save on Pinterest
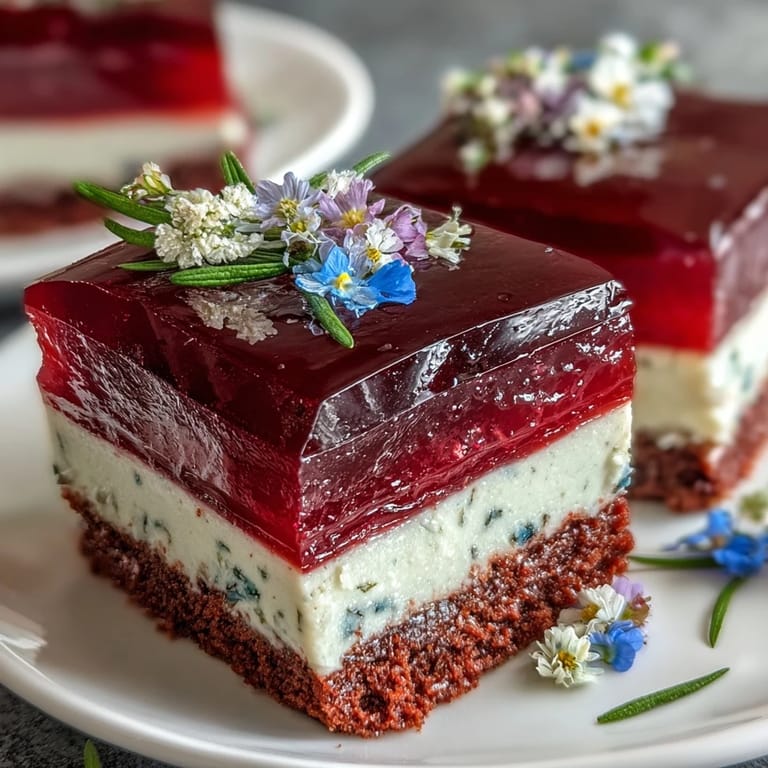
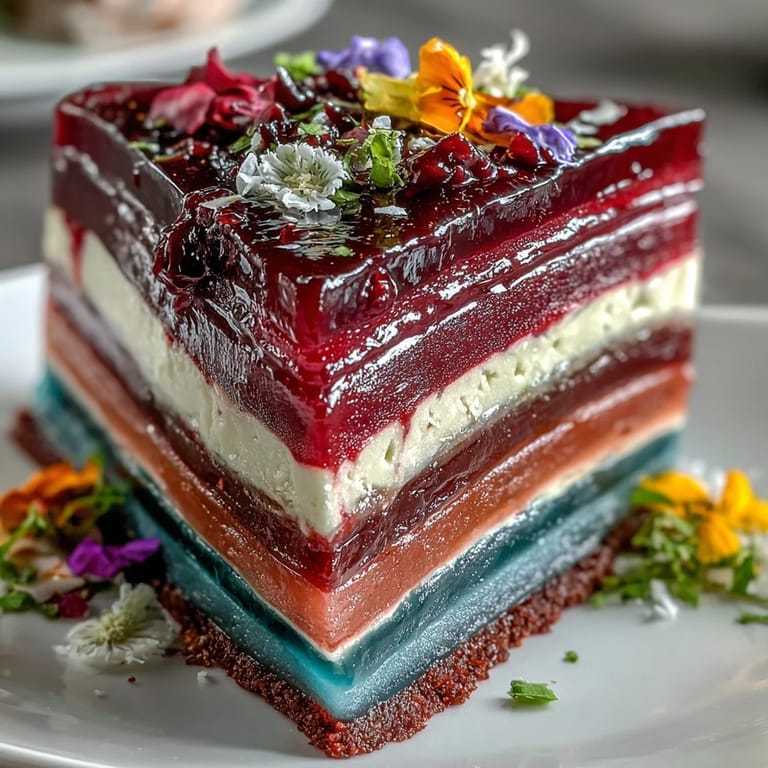
 The first time I laid eyes on a rainbow jelly cake, it was at a vibrant summer festival. The colors danced like confetti, beckoning everyone to take a slice. I had never seen something so playful and colorful in dessert form, and I knew right then that I had to try making it myself. The proud moments usually reside in the laughter shared over the table, and that day was no exception, with friends and family clamoring for a taste.
One evening, I decided to surprise my friends with this dessert for a potluck. As I layered the colorful jelly, my kitchen was filled with giggles and playful chatter. Each hue brought its own excitement, and when it came time to slice into the cake, the oohs and aahs were music to my ears. It became a centerpiece, and soon everyone was diving into the delightful layers.
Ingredients
- 2 liters water: The base for our jelly, water helps agar-agar transform into its delightful form.
- 16 g agar-agar powder: This magical ingredient creates the jelly texture, ensuring it sets perfectly.
- 400 g granulated sugar: Essential for sweetness, bringing all the fruity flavors together.
- 1/2 teaspoon vanilla extract: A hint of vanilla elevates the flavor profile of the jelly.
- Gel food coloring: For colorful layers, a little goes a long way in creating that rainbow effect.
- 1/2 cup fruit juice per color: Optional but adds a natural twist in flavor and enhances each layer's color.
- 400 ml coconut milk: Rich and creamy, it perfectly complements the fruity layers.
- 4 g agar-agar powder (for coconut layer): Helps the coconut cream set, ensuring it holds beautifully when sliced.
- 40 g granulated sugar: Balances the richness of the coconut milk.
- Pinch of salt: Enhances the overall flavors of the coconut cream.
Tired of Takeout? 🥡
Get 10 meals you can make faster than delivery arrives. Seriously.
One email. No spam. Unsubscribe anytime.
Instructions
- Prepare the Jelly Base:
- In a large saucepan, combine 2 liters of water and 16 g agar-agar powder, stirring over medium heat until fully dissolved. Add in the sugar and vanilla, removing from heat once everything is melted together.
- Divide and Color Jelly:
- Evenly split the jelly mixture into six bowls and get creative with gel food coloring! If you're feeling adventurous, add fruit juice to each bowl for an extra twist.
- Assemble Layers:
- Pour the first colored layer into a rectangular cake pan and chill for about 10–12 minutes until just set. Gently pour the next layer over it, repeating the process until all colors are stacked.
- Prepare the Coconut Cream:
- Mix together coconut milk, agar-agar powder, sugar, and salt in a clean saucepan, boil, and simmer until everything is dissolved.
- Top with Coconut Cream:
- Let the coconut cream cool slightly before pouring it over your jelly layers. Ensure it sets completely in the fridge for at least 2 hours before serving!
- Serve:
- When ready to serve, carefully loosen the edges with a thin knife and flip onto a plate. Slice into colorful pieces and enjoy chilled!
 Save on Pinterest
  Save on Pinterest
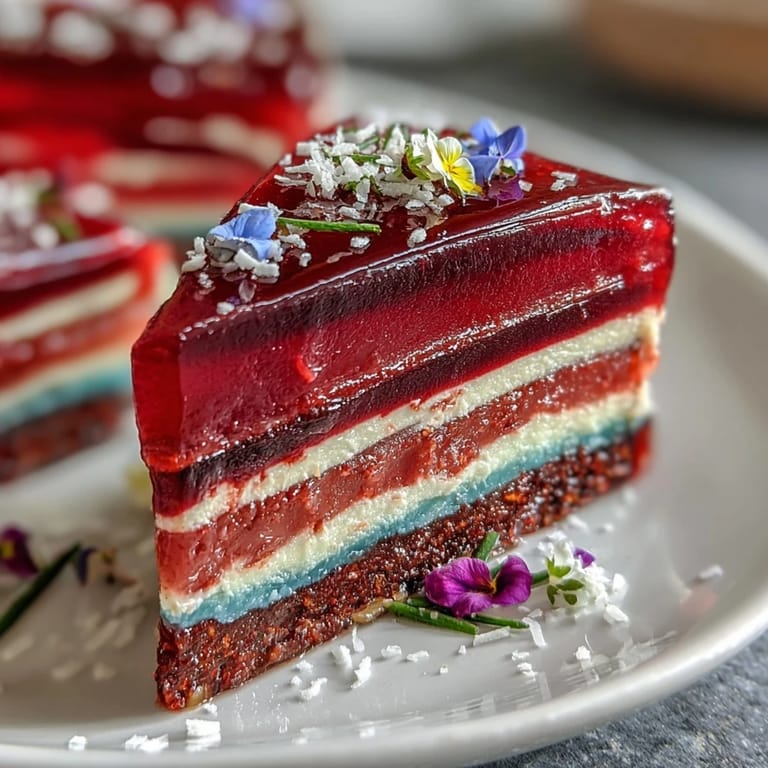
 This dessert is often more than just food; it becomes a canvas for creativity and connection. I’ve found that everyone feels a bit lighter, a bit cheerier, when they dive into colorful layers and creamy textures.
Tips for Getting Creative
Don't hesitate to play with flavors! You can incorporate fruit slices between layers for added texture and natural sweetness.
Making It Your Own
Experiment with various fruit juices to discover new combinations; each one brings a unique twist to the cake.
Presentation Ideas
Serving this jelly cake in individual portions using silicone molds can make for a delightful presentation.
- Consider garnishing with fresh fruit for a pop of color.
- Pair it with a scoop of vegan whipped cream for added indulgence.
- Remember to chill it thoroughly for the best texture when serving.
 Save on Pinterest
  Save on Pinterest
 Creating this rainbow jelly cake is just as rewarding as sharing it with loved ones. May your gatherings be filled with laughter and colorful bites!
Recipe FAQs
- → Can I use fresh fruit in this dessert?
Yes, you can add diced fresh fruit between the layers for extra texture and flavor.
- → How can I achieve stronger colors in the jelly?
For vibrant colors, it's recommended to use gel food colorings instead of liquid dyes.
- → What can I substitute for coconut milk?
You can use any plant-based milk as a substitute for coconut milk, adjusting the sweetness accordingly.
- → How long does it take for the cake to set?
After assembling, allow the cake to set in the refrigerator for at least 2 hours before serving.
- → Is this dessert suitable for a gluten-free diet?
Yes, this dessert is naturally gluten-free and dairy-free, making it suitable for various dietary needs.