 Save on Pinterest
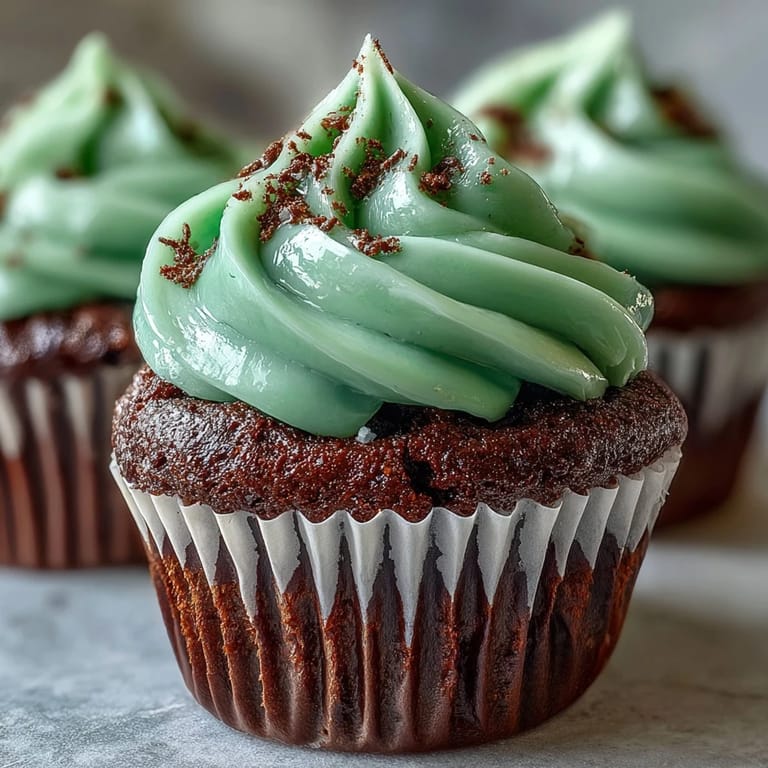
 My neighbor knocked on my door three days before St. Patrick's Day with a mischievous grin, asking if I could whip up something green for her office party. I'd never made green velvet cupcakes before, but something about that challenge—mixing cocoa's depth with vibrant green and tangy cream cheese—felt exactly right. These cupcakes became my answer, and they've been my go-to festive bake ever since.
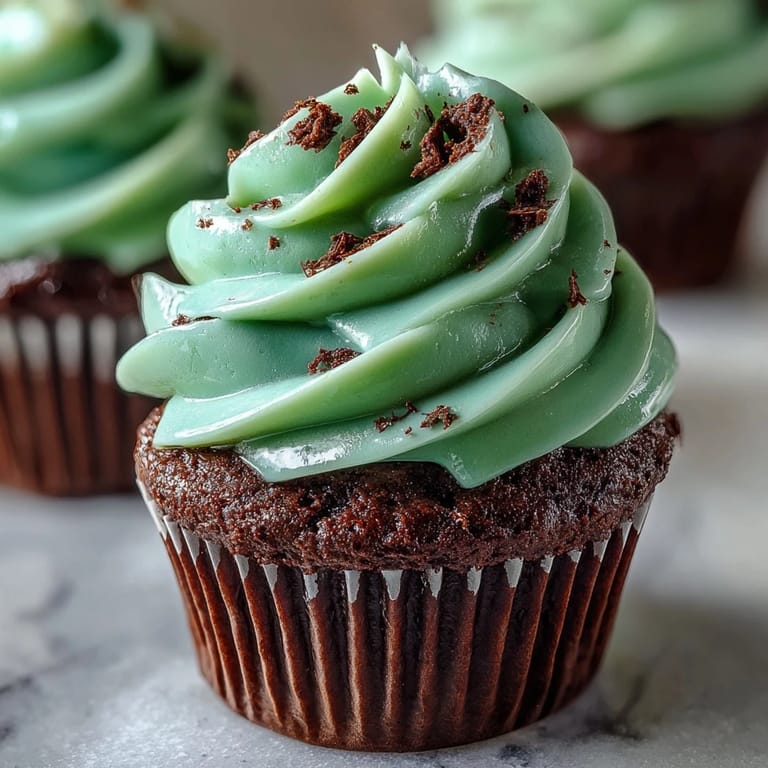
I'll never forget frosting the first batch while my kids circled the kitchen island like little hawks, mesmerized by how the white frosting swirled against the dark green cake. By the time I'd finished twelve cupcakes, they'd already negotiated which ones they could taste-test. That's when I knew I'd nailed something special.
Ingredients
- All-purpose flour (1 1/4 cups): The structure that keeps these tender without being dense—don't sift unless your flour is clumpy.
- Unsweetened cocoa powder (1/4 cup): This balances the sweetness and adds a subtle earthiness that makes the green pop instead of tasting flat.
- Baking soda (1/2 tsp) and salt (1/4 tsp): These work with the vinegar to create lift and depth of flavor.
- Unsalted butter and sugar: Room temperature butter creams properly, and this ratio keeps things moist.
- Eggs and buttermilk mixture: Room temperature ingredients mean everything blends smoothly without overmixing.
- Sour cream and vinegar: This combination is the secret—it adds tang that cream cheese frosting loves and keeps the crumb tender.
- Green gel food coloring (1 tbsp): Gel gives you that jewel-tone green without watering down the batter like liquid coloring does.
- Cream cheese and butter for frosting: Both need softening to beat into fluffy clouds that actually stay put on the cupcakes.
- Powdered sugar (2 cups): Sifting it removes lumps that would show in your frosting swirls.
Tired of Takeout? 🥡
Get 10 meals you can make faster than delivery arrives. Seriously.
One email. No spam. Unsubscribe anytime.
Instructions
- Heat and organize:
- Preheat your oven to 350°F and line your muffin tin with liners—this prevents sticking and makes cleanup almost pleasurable. Get all your ingredients sitting out where you can see them so nothing gets forgotten midway.
- Combine your dry goods:
- Whisk flour, cocoa powder, baking soda, and salt together in a medium bowl, breaking up any cocoa lumps as you go. This distributes the leavening evenly and prevents streaks of baking soda taste.
- Cream butter and sugar:
- Beat softened butter and sugar together for about 2 minutes until it looks pale and fluffy, like wet sand at the beach. This incorporates air that helps your cupcakes rise beautifully.
- Add eggs gently:
- Drop in eggs one at a time, beating well after each addition so the batter stays emulsified. Rushing this step creates a grainy texture, so take your time.
- Build the wet mixture:
- Pour in buttermilk, sour cream, vanilla, your gorgeous green food coloring, and vinegar, stirring until everything is combined and the batter looks that perfect forest green. The vinegar activates the baking soda and adds tang.
- Fold in dry ingredients:
- Add the flour mixture slowly, mixing just until you don't see streaks of flour—overmixing creates tough cupcakes nobody wants. Stop as soon as it looks combined.
- Fill and bake:
- Divide batter evenly among liners, filling each about two-thirds full so they rise up nicely without overflowing. Bake for 16 to 18 minutes until a toothpick inserted in the center comes out clean or with just a crumb or two.
- Cool with patience:
- Let cupcakes sit in the pan for 5 minutes so they firm up slightly, then transfer to a wire rack to cool completely. Frosting warm cupcakes creates a melted mess, so this waiting step matters.
- Make your frosting:
- Beat softened cream cheese and butter together until smooth, then gradually add sifted powdered sugar, vanilla, and salt, beating until fluffy and cloud-like. This takes about 3 to 4 minutes, and you'll see the transformation.
- Frost with confidence:
- Use a piping bag for swoops and swirls, or a spatula for a rustic spread—both look beautiful once you add green sprinkles on top. A chilled frosting bag keeps everything from sliding around.
 Save on Pinterest
 There's something genuinely joyful about biting into a cupcake that looks festive and tastes even better—that moment when the slight cocoa earthiness hits your tongue before the sweetness follows, and cream cheese frosting melts into it all. These cupcakes stopped being just dessert the day someone told me they reminded them of why they love celebrating with homemade things.
The Secret Behind the Color
The magic here isn't just the green food coloring—it's the cocoa powder underneath that makes the green look richer and less artificial. When you use gel coloring and don't skimp on it, you get this deep forest green that photographs beautifully and actually looks intentional instead of neon. I learned this the hard way after my first batch came out looking like a science experiment, but now I get compliments from people who think there's some secret ingredient in the color.
Why This Recipe Works Every Time
The combination of buttermilk, sour cream, and vinegar creates a tender, moist crumb that stays fresh even after a day or two in an airtight container. That tangy flavor also prevents the sugar from feeling cloying, and it plays beautifully with cream cheese frosting. I've tweaked this recipe so many times, but I keep coming back to these exact ratios because they simply deliver.
Variations and Celebrations
The base recipe is forgiving enough to play with, so I've added a few drops of mint extract for spring parties, or dusted the frosting with edible gold for fancy occasions. You can also tint the cream cheese frosting itself if you want a monochromatic look, or leave it white for contrast. Here are a few quick tricks I've learned:
- A drop of mint extract in the batter gives these a fresh twist without changing the texture.
- If you frost these the day before serving, they actually taste better as flavors meld together overnight.
- Store frosted cupcakes in an airtight container in the fridge for up to three days, and let them sit at room temperature for 10 minutes before eating so the frosting softens to perfection.
 Save on Pinterest
 These green velvet cupcakes have become my way of saying festive without taking myself too seriously. They're delicious, they're fun, and they make people smile—which is really all you need to celebrate anything.
Recipe FAQs
- → What gives the cupcakes their green color?
Gel food coloring is used to achieve the vivid green shade without altering the batter's consistency.
- → Can I substitute sour cream in the batter?
Yes, buttermilk alone can work, yet sour cream adds extra moisture and tenderness to the texture.
- → How should the cupcakes be stored after baking?
Store in an airtight container at room temperature for up to two days or refrigerate to keep the frosting fresh longer.
- → Is there an option to enhance the flavor profile?
Adding a drop of mint extract to the batter or frosting can provide a refreshing twist to the overall taste.
- → What is the best way to frost the cupcakes evenly?
Using a piping bag allows more control and creates a smooth, professional look for the cream cheese frosting.